
41 gauge wire/.0028″:
This is a noticeably thicker wire. It will more quickly build up a coil needing fewer turns. This wire tends to sound wide and has a lot of treble. It is tough to get even a moderate output without changing the bobbin size to accommodate more wire. I think this is a great wire choice for winding low impedance pickups.
42 gauge wire/.0025″:
The thicker the wire, the more quickly one can build up the thickness of the coil you’re winding. This wire tends to sound (“Right” or “Classic”) A familiar and even blend of treble to bass. Tends to yield a low to moderate output rating.
43 gauge wire/.0022″:
This wire type is of the smaller variety. A smaller wire allows the winder to fit more turns on a bobbin and thereby create a hotter pick up while occupying the same amount of available space. This is the type of wire one uses to get a higher output humbucker or single coil. Sometimes this wire gauge is used in foil type pickups.
44 Gauge wire/.0020″:
This wire, much like the 43AWG wire, is small. Smaller wires allow for more turns to fit on a defined space. This wire is well suited for getting a “Normal” output reading from a pickup with limited space available. Small and or foil pickups.
I have found that the smaller the space between individual wraps, E.G., the denser you can make your coil, the more it becomes scooped (mids bump) sounding. Another consideration may then be the thickness of the insulation used on whatever wire you have selected to make up the coil. The more space between individual wraps or layers the line has to carry the signal without proximity interference, the more pure/accurate its representation of the original signal will be. This comes at a price though, when the additional thickness of insulation enters the equation, it means that there is now that much less space you will be able to use for additional winds leading up to the bobbin’s capacity. I have found that I do best when I take the time to measure 36″ sections of whatever wire I am winding that day. Or I will reference this massive wire info chart during rewinds.
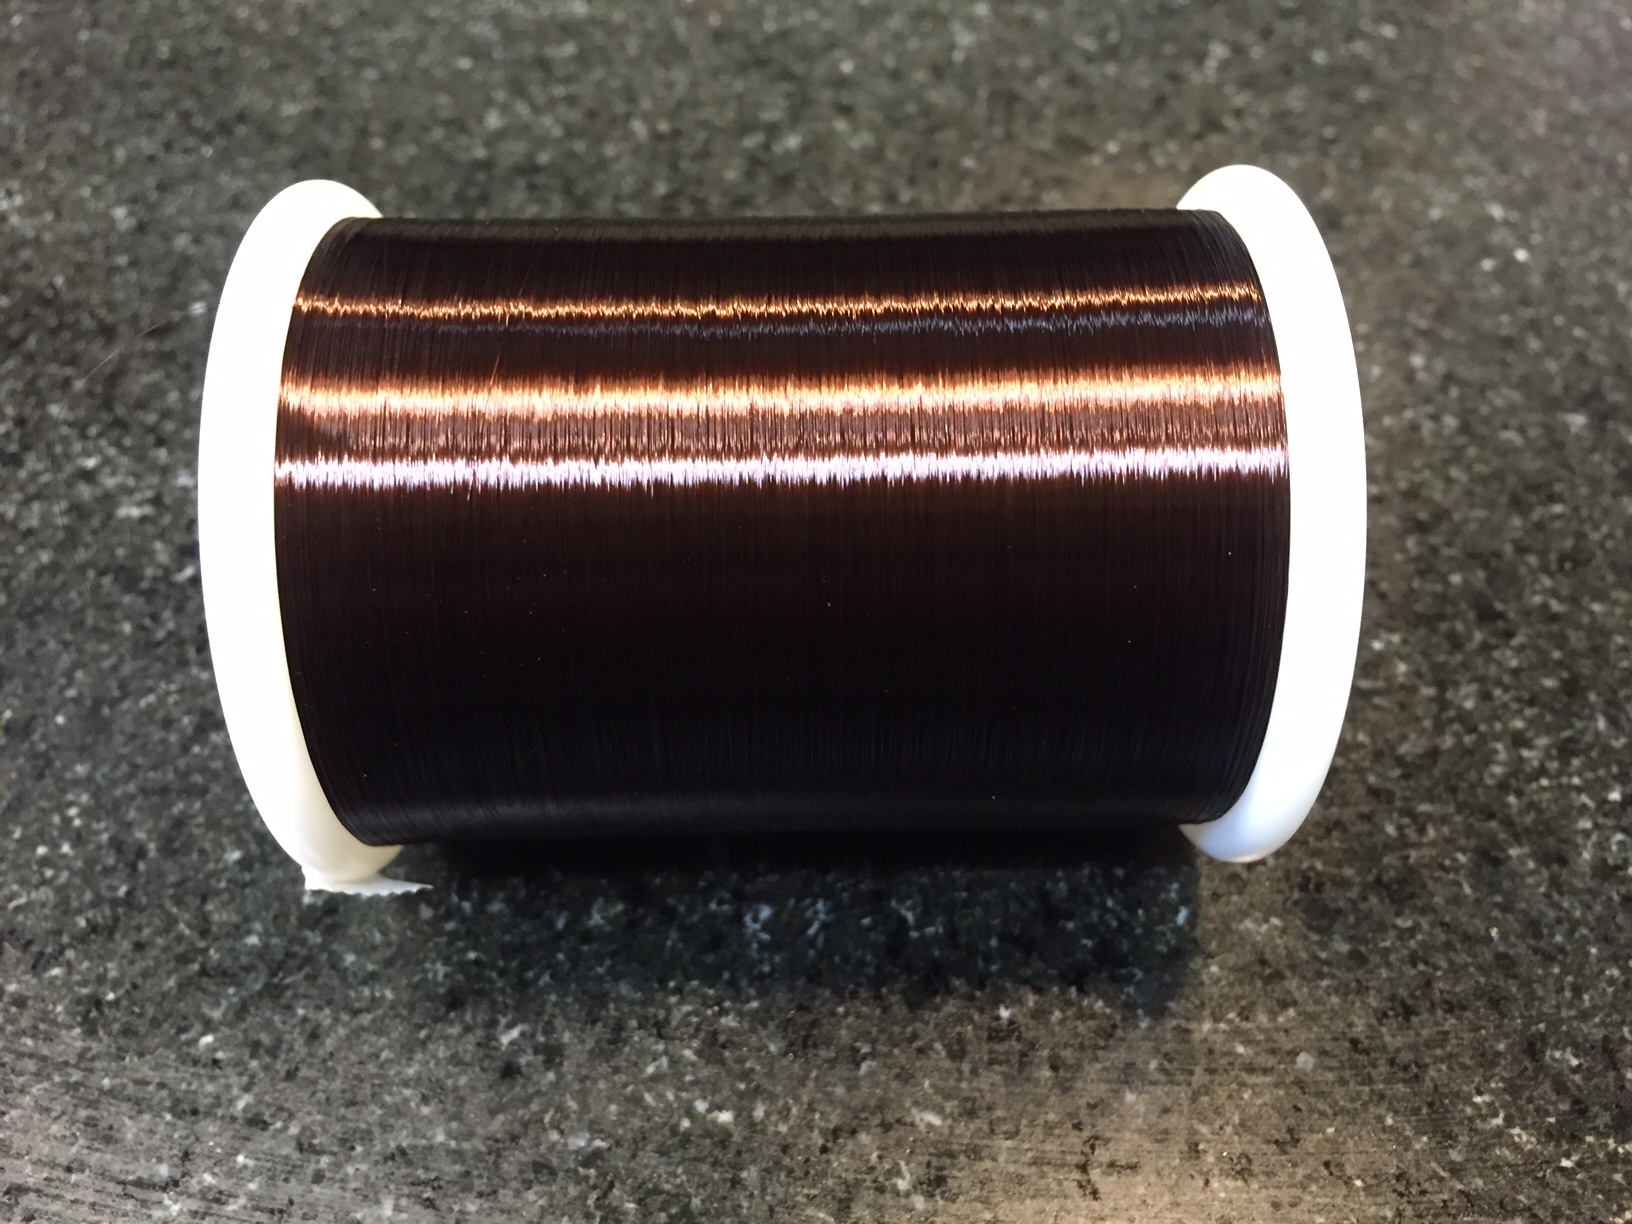
Plain Enamel or PE:
This is the famous purple/brown insulator. This insulator was one of the very first insulation is to be invented and used as a magnet wire insulator. People who are not accustomed to working with this insulation type, will find it to be very resistant to solder. Soldering with this insulator will often require removal of insulation film by way of abrasion. It is not very resistant to solvents. This is one of many .0002″ thick insulations. It is also very inconsistent in its overall thickness across the length of wire, making for an unpredictable element. Those un-controllable variables can often be attributed to the musical ability of a pickup. Sometimes the flaws are what make something great.

Formvar or HF:
This is one tough form of insulation. This wire insulation type is sold with one of two different film thicknesses: .0002 = normal & .0004″ = heavy. I feel like I almost never encounter the single build formvar insulated wire. Formvar wire is known most of all as being very tough. I feel that it is a little less consistent in film thickness when compared to poly, but it is much more durable. Some of the most famous pickups ever made were wound with .0004″ heavy formvar wire. A solid choice for rewinds and clones of single coil pickups. can also help to produce a big and clear sounding neck humbucker.
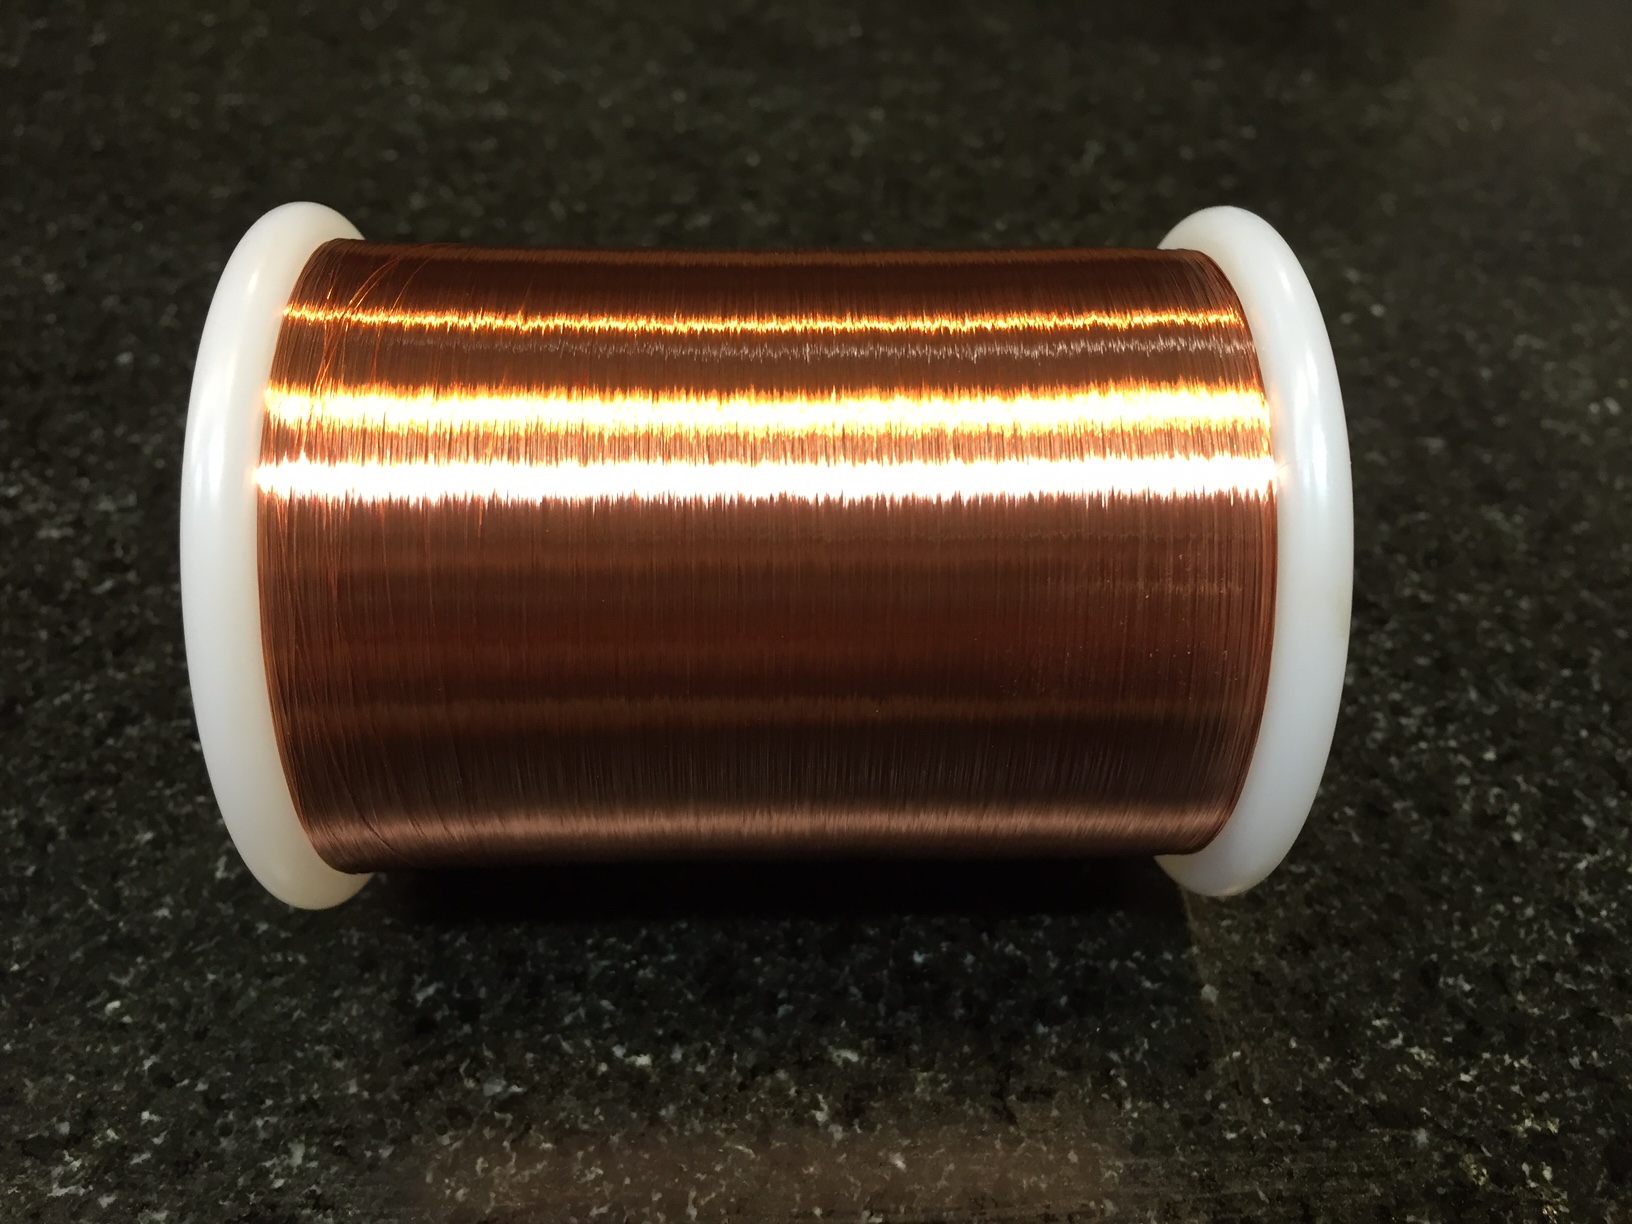
Polyurethane or P155:
This is a very consistent wire insulator. It is strong and resistant to damage. Soldering is quite easy. It has the option of being purchased as a normal thickness coating (.0002″) or as a heavy thickness coating (.0004″). Because of the consistency in build, poly insulated wires allow for the individual winding the coil to have more consistency and this will help to keep specs in check from spool to spool. This will help one to be able to predict the output to turns ratio more than other insulators. At least this is what I have found.
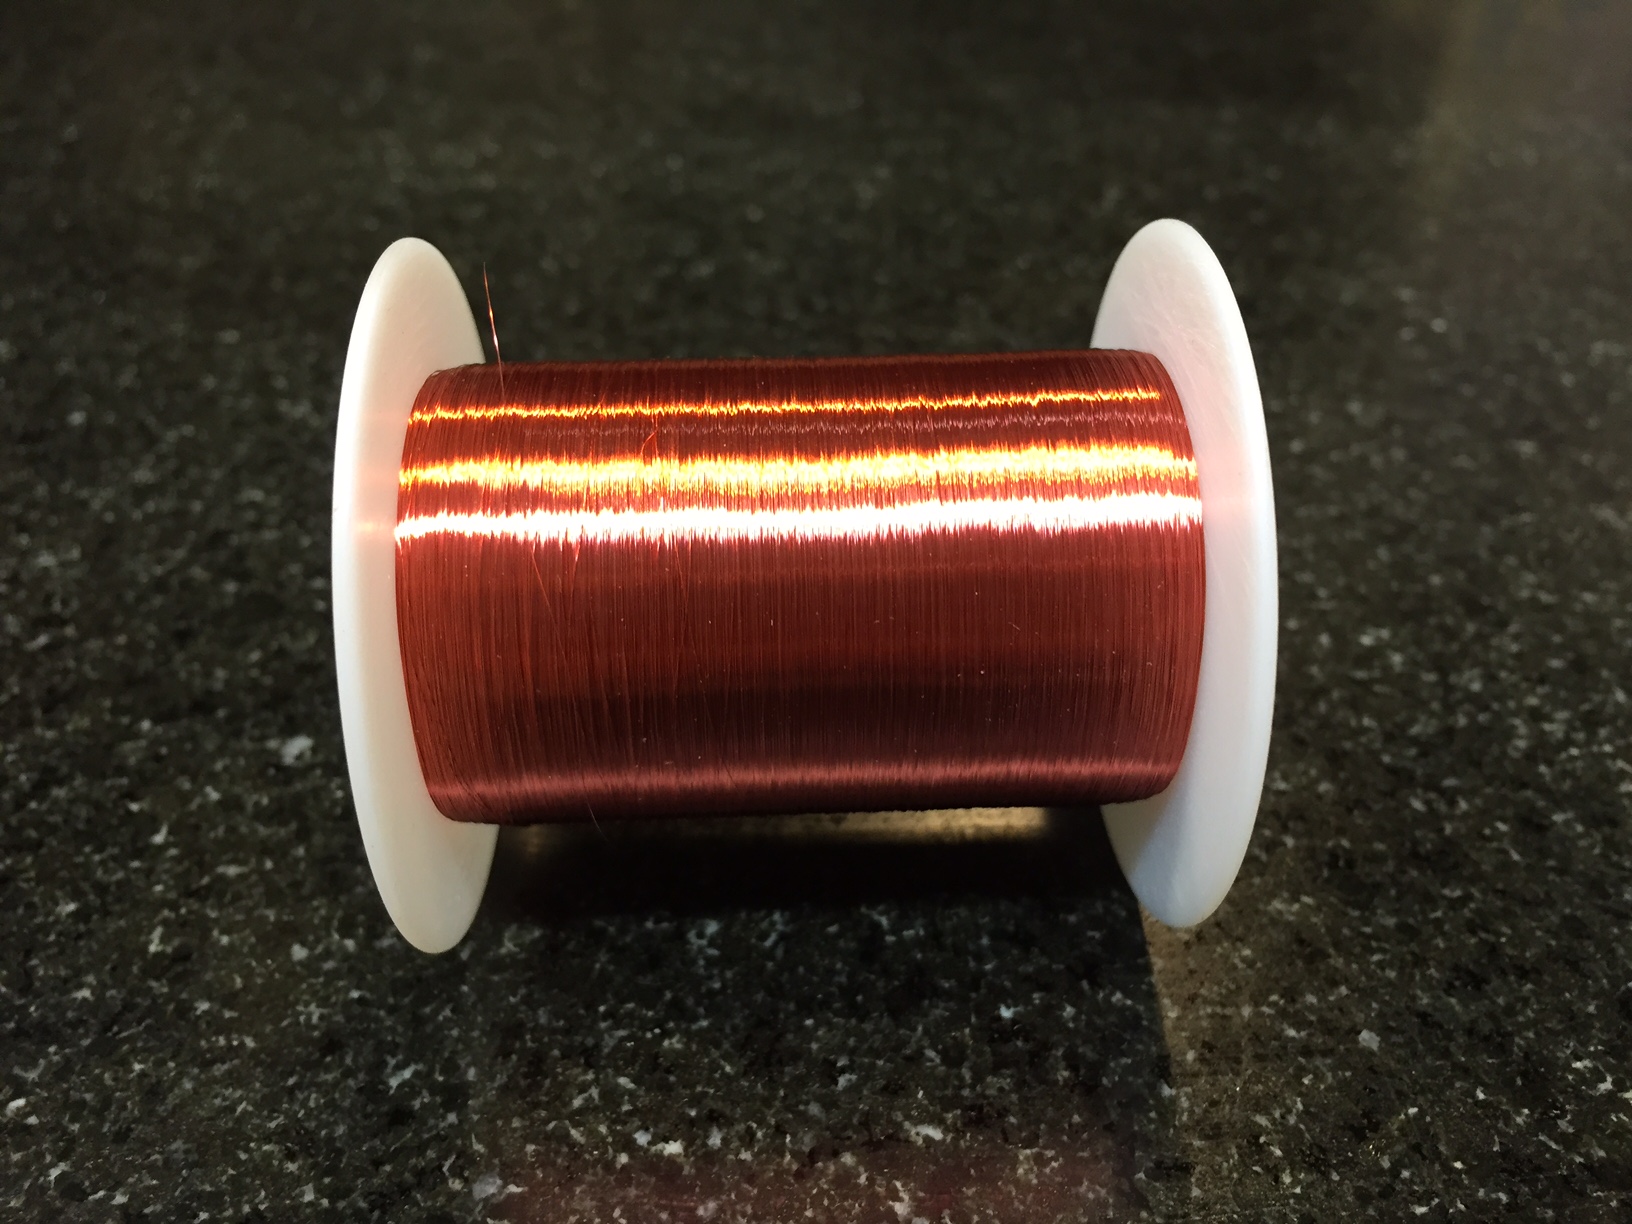
Poly Nylon or PN:
This is a very consistent wire insulator and maybe the most durable of all the insulation types that I use. Available in a multitude of colors, Brown, red, blue, green, orange, black and probably even more colors than the ones I have listed here. It is strong and resistant to damage. Soldering is still quite easy. It has the option of being purchased as a normal thickness coating (.0002″) or as a heavy thickness coating (.0004″). Because of the consistency in build, poly insulated wires allow for the individual wraps to lay moderately close together. This will help one to be able to predict the output to turns ratio more than other insulators.
There are many other ways to control the sound of a pickup. One is with the tension on the line during winding. The more tension on the line you add, the more wire you will end up turning and you will end up stretching the wire ever so slightly, giving you a higher DC resistance. This will also affect your inductance and capacitance because of the turns laying closer together. The main thing to know for a winder is this, the neater and tidy the wind, the more control you will have in the way of inductance and capacitance. To make things easier, magnet wires have factory recommended tensions for the optimal results. This helps to give one an idea as for how much tension should be applied to the line throughout the winding process. Being aware and mindful of these weight sensitivities will likely only make your experience more pleasant. The inductance and capacitance are the most important variables to consider when measuring coils. When you are setting out to rewind an older pickup or pickup set, trying to exactly recreate the coil is the goal. I think the easiest way to get started here is by knowing the desired output in ohms. If the bobbin is unbroken and you know the general shape of the coil, rewinding can be a quite easy process because the coil parameters are almost all predetermined for you by the bobbin. This is an ideal scenario for preforming rewinds. This was my first go to site for guitar and bass pickup rewind chart. It has been assembled by the SK Guitar specialties company. SK’s website was one of the first sites that supplied me with the knowledge to preform rewinds and have a database to refer to. Since discovering this page, I have learned to keep meticulous notes of every pickup I have ever wound. I reference my list almost daily. Use the SK list to get started and know that if you do a nice job winding and you have selected the correct wire for the rewind, if you turn the number of turns laid out in the chart, you will be within 2%. Below are my explanations of the various ways to measure a pickup and the affect they have individually on the overall sound created.
(K) ohms = Pure and simple; this measurement tells a winder how many feet of wire now occupy the bobbin. When the bobbins are the same dimension and the wire used is the same and no other changes are made to the recipe; it is at this time when rules like, (the more winds, the darker the sound); start to apply. Used mainly to measure how many feet of wire have been twisted onto the bobbin.
(L) Henries = How much low end or bass will be accurately reproduced from what your strings feed to the pickup. The more Henries, the thicker and more mid rich the sonic footprint will be and too few Henries will make a pickup feel like it’s dull and lacking mid-range. More accurately, this measurement represents coil efficiency. In pickups, this measurement tells you how the ferrous metal within and around the coils are enhancing the output of the coil.
(C) capacitance = How much treble is shaved off the top of the signal because of the wire doing what coiled wire does, store energy. The greater the reading, the greater the treble response will be. This can work against you; it is possible to create too much separation between bass and treble. Inductors behave in the opposite way a traditional capacitor will. Typically, the higher the number, the darker the sound; this will not stand to be true when measuring inductors.
(mT) field strength = This is really the thing to be aware of. Not necessarily because of its effect on the overall sound, but because of what sound a magnet will have at a given measurement. E.g., an alnico 2 bar magnet charged to 32mT measured at the pole pieces; will sound vastly different from the way an alnico 8 bar magnet charged to 32mT measured at the pole pieces will sound. I hope that last statement helps you to realize that the coil game is all an attempt to filter the effects the charge and magnet grade selected have on the overall sound of your pickup.